|
bin for binary is the place where the most essential commands are stored.
In boot there are files related to the system's operation at startup, dev, is a special directory corresponding to the devices of the system. From dev, one can access the terminal, the tape drive, the disks etc. etc, is a directory with administrative information associated with the system. home, contains the private files of the users. lib, for library maintains data files associated with various commands. lost and found, is a special directory that is used during disk maintenance to store files that are found without proper linkage to other directories. On the other hand, the mnt directory, which stands for mount, is used for mounting external storage devices, such as USB flash drives. proc, contains information about the system; sbin for system binaries stores essential files used by the system administrator. tmp gathers the temporary files of the system,particularly files that are used and then get deleted. usr, for user is used for storing additional commands in libraries,that are not essential for booting up the system. var, for variable contains files that vary during the system's runtime,
0 Comments
Dig is one of the more popular command to enumerate the information about a DNS Record.Lets see it in action. Get IPv4 Infomation about the domain  Get IP v6 Information  Get Information about Name Servers 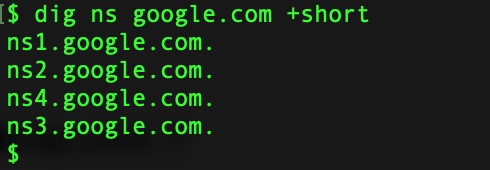 Mail Server Information 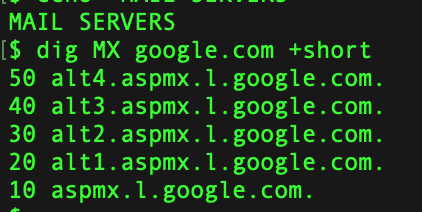 Certification Info  Running Dig with Nmap 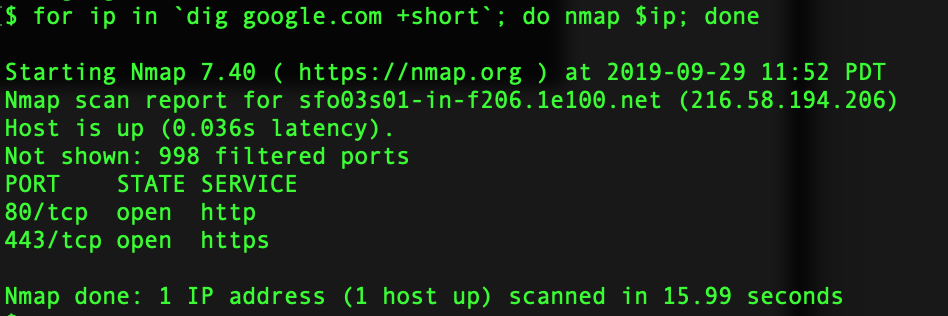 Couple of GUI based tools you can use for this purpose are as follows:
In this post, we are going to discuss about how linux handles hardware and interact with them via command-line. udev service, is responsible for managing linux devices.
All information related to the hardware is in the /dev pseudo file system. We will run the following commands to understand it in detail. lspci - Displays Information of PCI Devices Attached lsusb - Displays Information on USB Devices Attached lscpu - Displays Information on Processes on a System lsblk - Displays information on all block devices on the system Linux kernel is the core framework of the operating system with any Linux operating system typically known as the GNU/Linux operating system.
The Linux kernel provides a way for the rest of the system to operate with its hardware that's connected to it. All the memories, such as the hard disk and the ram, has plugged into the system. The networking capabilities of the computer and, of course, itself. And what we mean by itself is the kernel's ability to communicate with this various subsystems. The Linux kernel is known as a monolithic kernel, and what that means is that the kernel handles all memory management and hardware device interactions by itself. Also, extra functionality can be loaded and unloaded dynamically through kernel modules. A monolithic kernel ensures that the system will not need to be rebooted into a different kernel image for added functionality. Command for Linux Kernel Module
In this post, we're going to take a look at pseudo file systems.
What is a pseudo file system? File system is a method of laying off files and folders on a physical hard disk. Within Linux, every file and folder is actually nothing more than just a file itself. The hard drive, network information, keyboard, display monitor. Everything is seen as a file within Linux. A pseudo file system, on the other hand, does not exist on a physical hard disk. It actually is created by the Linux Kernel after the computer boots up, and it only exists and RAM while the system is up and running. Once you shut your computer off, that file system no longer exist as it gets wiped out when the RAM is cleaned. When your system boots up, the kernel would create another pseudo file system, using the same directories that will hold all of the information that the kernel in a system uses. There are multiple pseudo files systems that are used within Linux, but the two main ones are
List all the AWS S3 Buckets
aws s3api list-buckets --query "Buckets[].Name" See if you can get a response from an AWS endpoint curl <ip:port> -s | xmllint --format - Access Public S3 Bucket: aws --endpoint <url:port> --no-sign-request s3 ls s3://public you can use 'cp' command to copy the data to your local machine. We are going to use the MFTECmd tool developed by Eric Zimmerman to perform a filesystem based timeline. G:\>MFTECmd.exe -f "<Source>" --body "<Dest>" --bodyf <filename.body> --blf --bdl <Drive> Tool Details: Author: Eric Zimmerman ([email protected]) https://github.com/EricZimmerman/MFTECmd Running this command will save the data in a body file at the specified destination location. Once you have the body - you can use SANS Sift workstation create a timeline out of the bodyfile mactime -z UTC -y -d -b /test.body 2019-07-23..2019-08-07 > /test-filesystem-timeline.csv 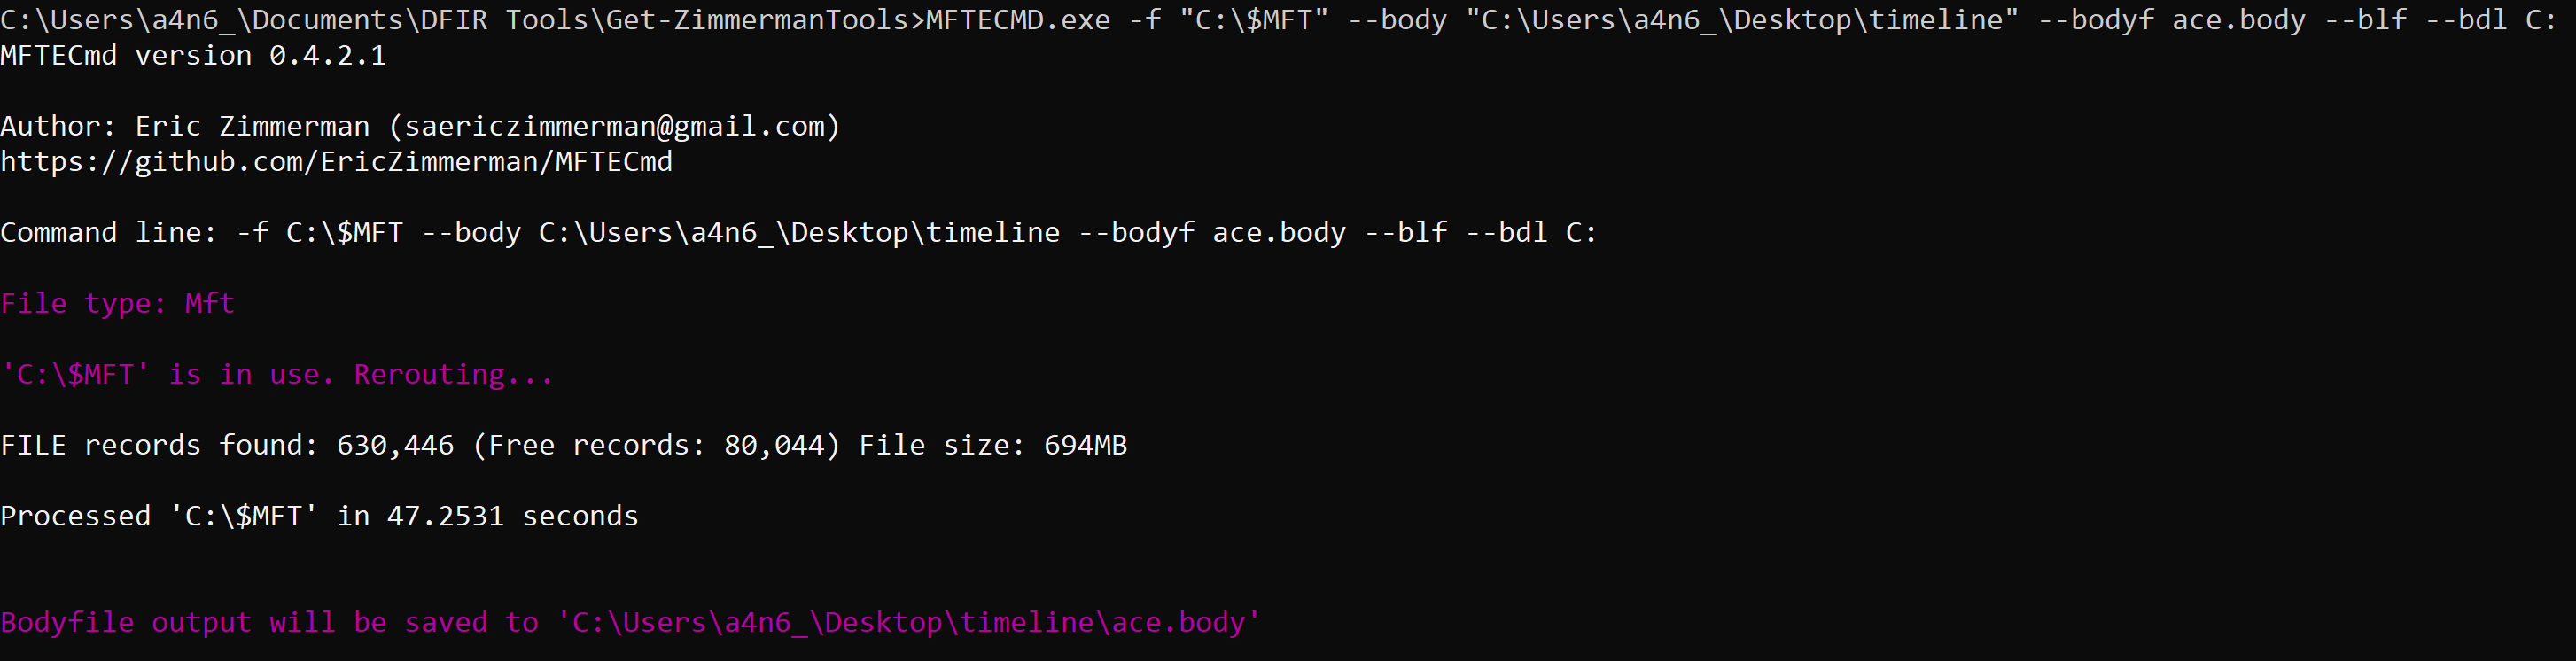 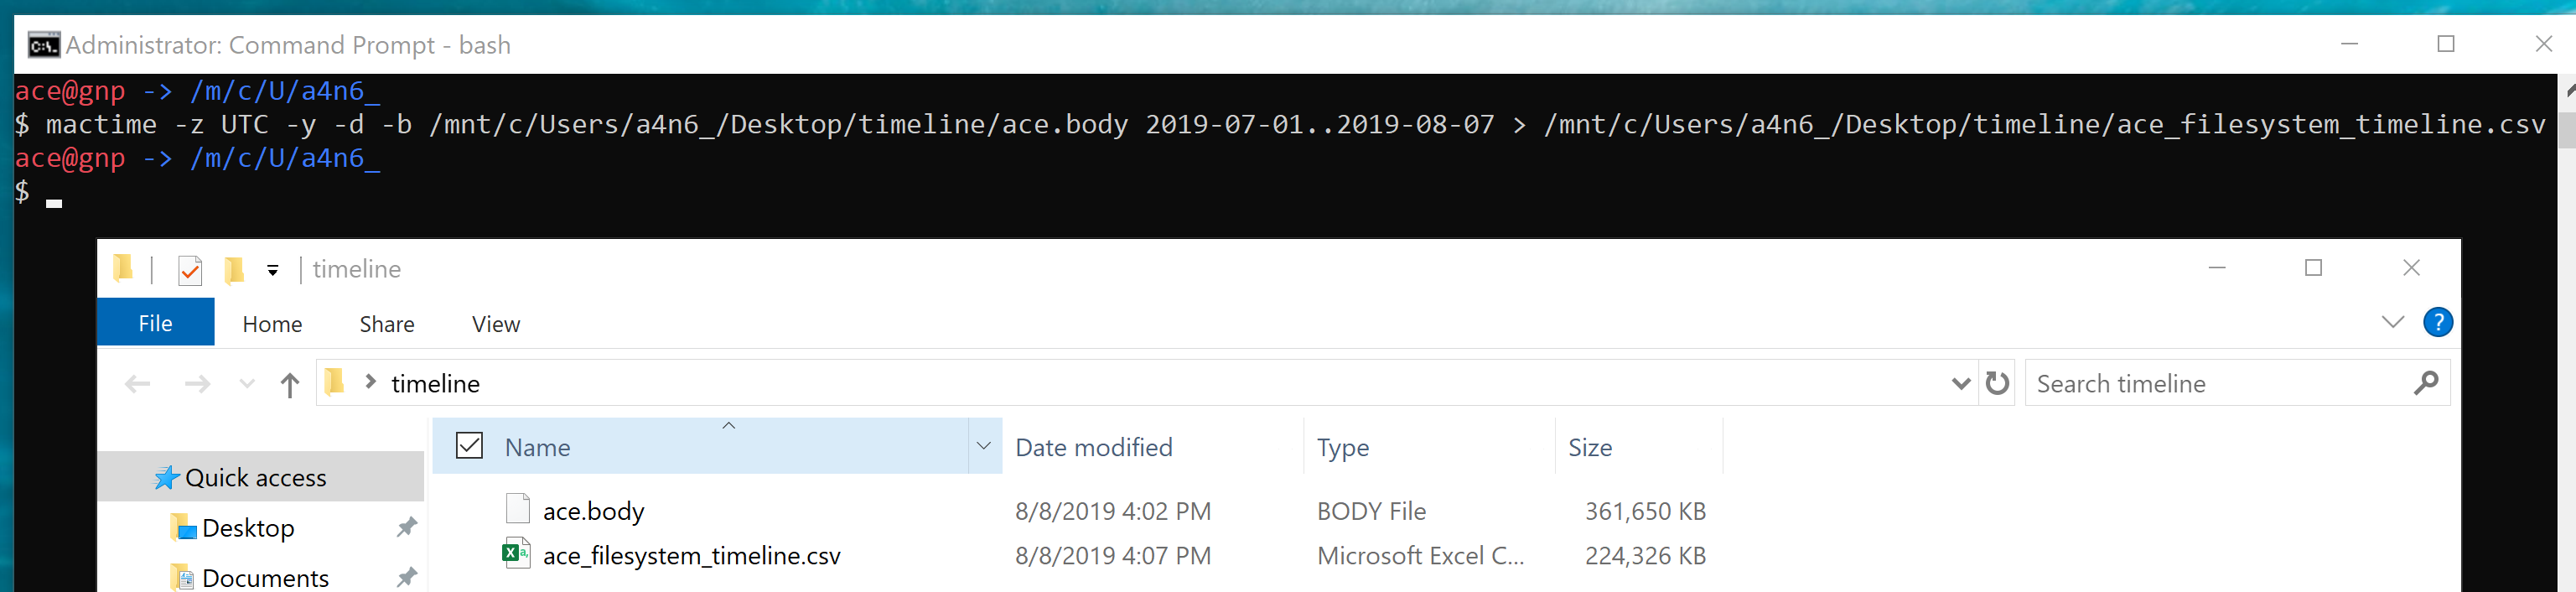 You can use another tool called Timeline Explorer to analyze the timeline. 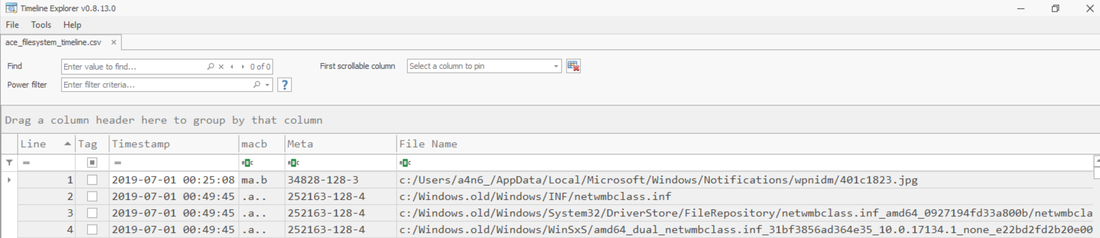 Developing timeline of forensic artifacts is a great practice. There are several tools like log2timeline, Plaso, commercial tools etc will develop a timeline for you. Today, we are going to discuss about another tool called Timesketch. Here is the GitHub repo: https://github.com/google/timesketch The easiest way to get up and running is by using Docker Image. Fortunately, there is already an image of TimeSketch in docker: https://hub.docker.com/r/ilyaglow/timesketch Another way it to compose docker image on the host itself: Timesketch will be up and running on http://127.0.0.1:5000 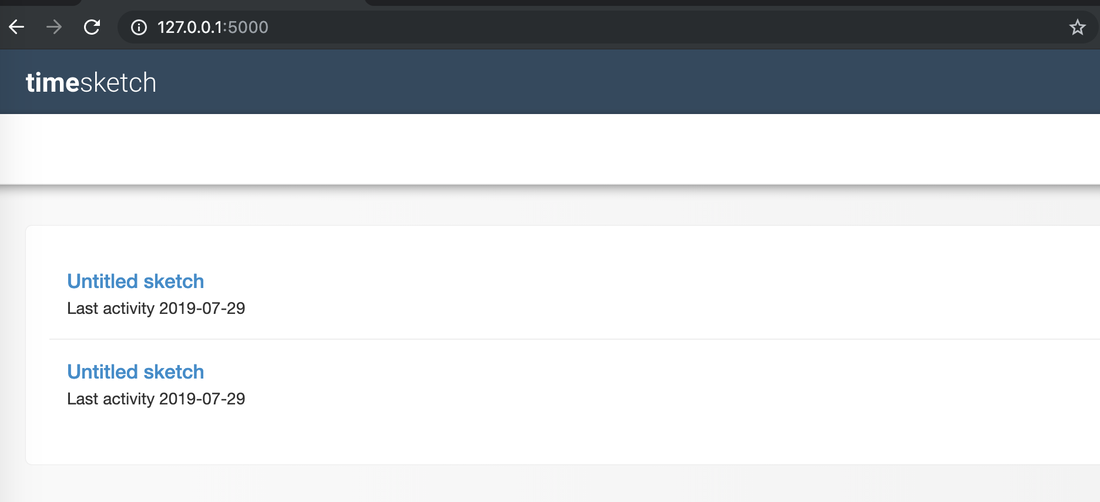 It'll give you a nice option to upload a CSV file or a Plaso Dump file. 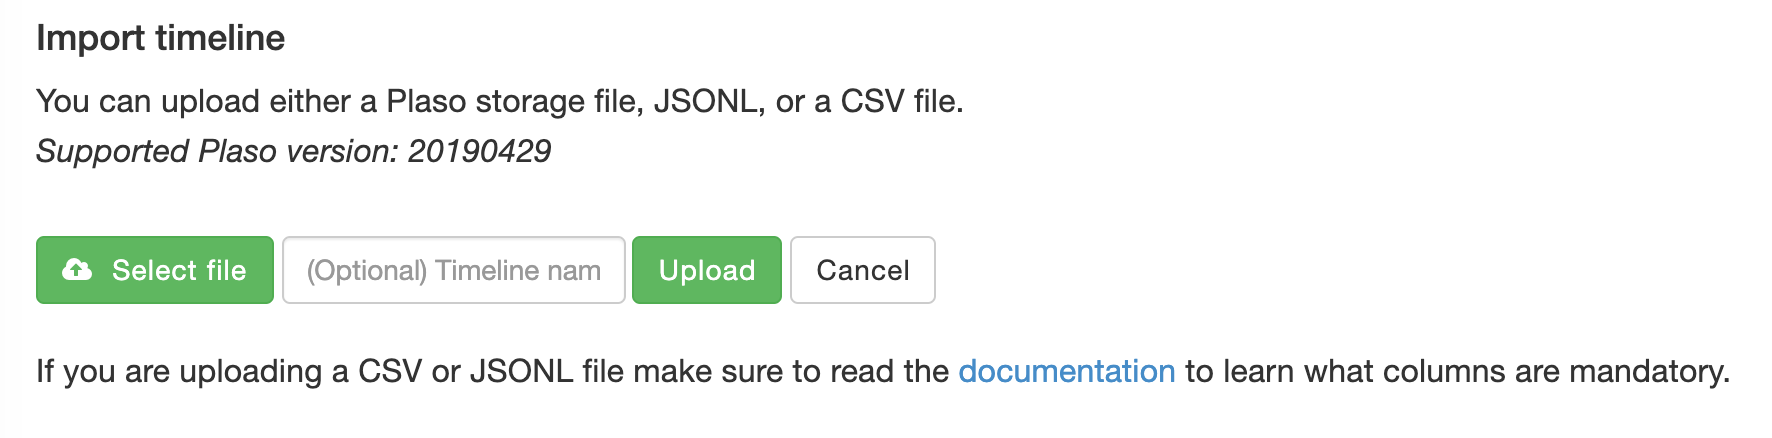 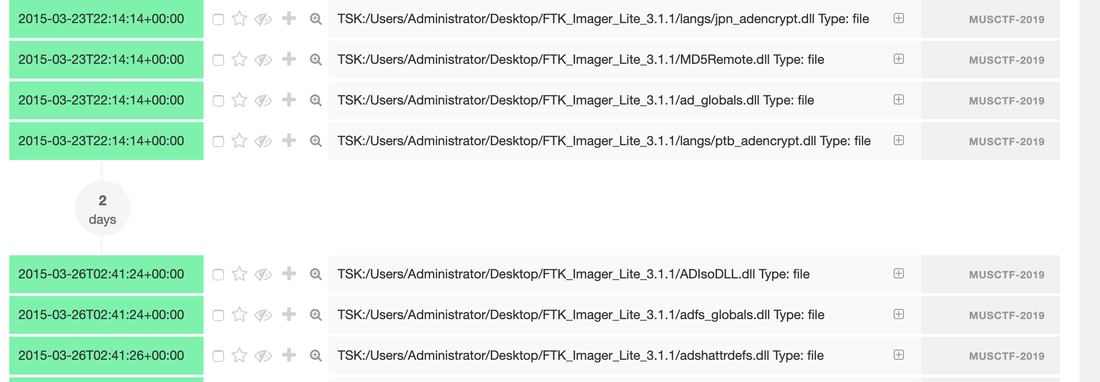 This tool was written by Christian Wojner for finding Malware on an infected system. The tool will basically look for the density of the code of the each file and present it in the descending order. 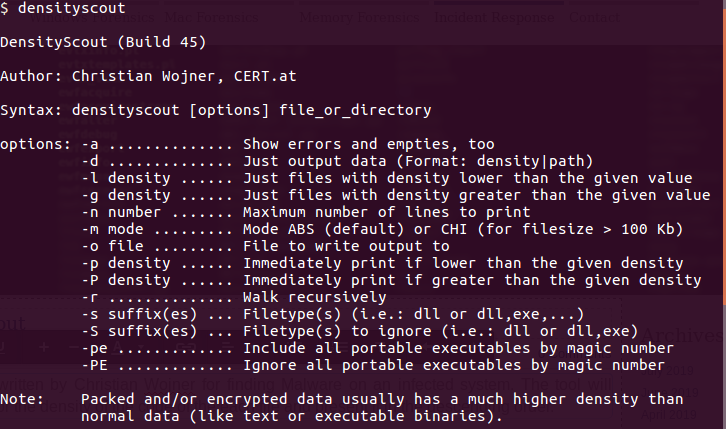 It's a pretty handy tool for identifying malicious files. This is just and indicator - don't completely rely on the results of density scout. Run is data by couple of other tools like PEscan and Sigcheck etc. In case if the traditional forensics/IR tool fails to identify a malware. This is one of the good methods to run the image/mounted volume though density scout and get a list of suspicious binaries with lower score, run and MD5 and check in Virus total. In case if you don't have forensic tools on your machine or you are using a Mac machine. You can use a SIFT docker container to perform the action. Docker SIFT Image: https://hub.docker.com/r/gourav5660/sans_sift_forensics Once you have docker image pulled run following command: Cyber kill chain is another way to look at the incident response process. Think from the attacker perspective.There are 7 Phases in this model:
1) Reconnaissance: Gather information about the organization by using all the tools at disposal. Other hard to detect and distinguish from the normal user activity. 2) Weaponization: In this phase an adversary will decide things like what malware to use, word doc or something else, shell code or power-shell script, etc. 3) Delivery: The intruder will decide how to deliver the payload for example phishing or not phishing, exploiting some vulnerability etc. 4) Exploitation: In this phase, the software, human or hardware vulnerabilities are exploited 5) Installation: The adversary will establish the foothold in this phase by moving laterally and establishing persistence etc. 6) Command and Control: The communication channel will be established between the payload and the control channel. 7) Action on Objective: The intruder will execute his/her objective. It may be data exfiltration, it may be denial of service etc. mnemonic: Rob wrestled Dave everyday in the common area |
Archives
April 2020
Categories |
 RSS Feed